What To Do With Your Lettuce- Part 2
As we continue on with this series, part one was about freezing your herbs with oil (Read the last post if you missed). This time, we are going to talk about all that lettuce I planted.
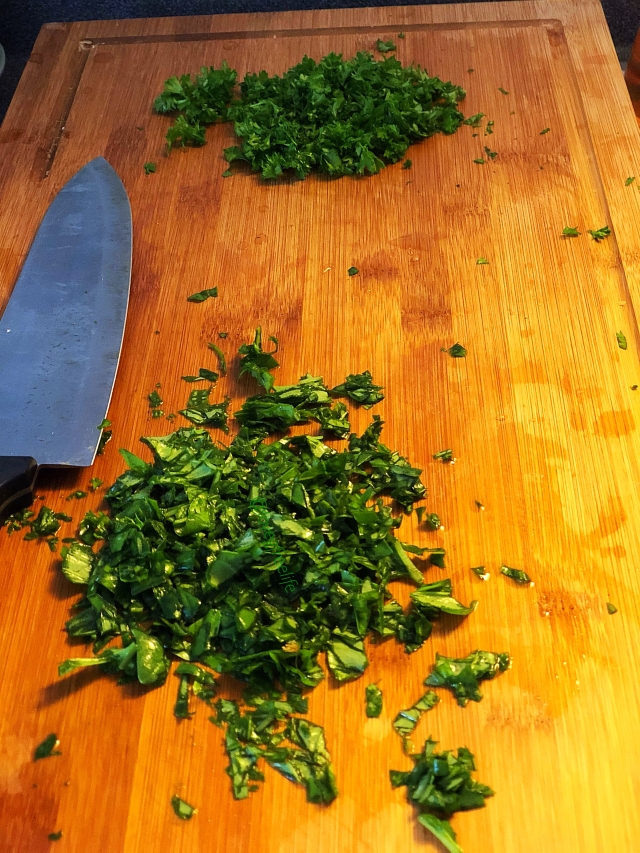
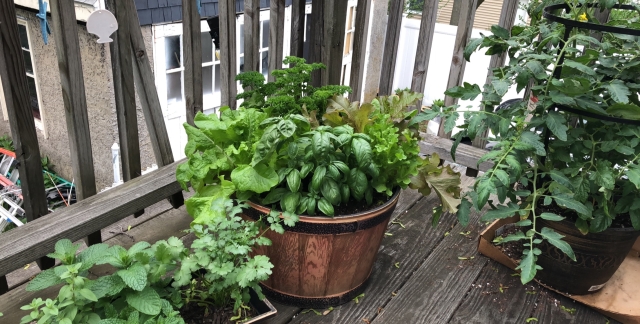
I am not going to lie, I have never grown lettuce before and had no idea what I was really doing. I read online how to cut the lettuce so it would continue to grow. How you can achieve this is by cutting the outer leaves and leaving about an inch of the crown. This will allow your lettuce to keep growing.
But, what if I don’t feel like eating my lettuce right away. What can I do with it so it won’t spoil?
What You Need:
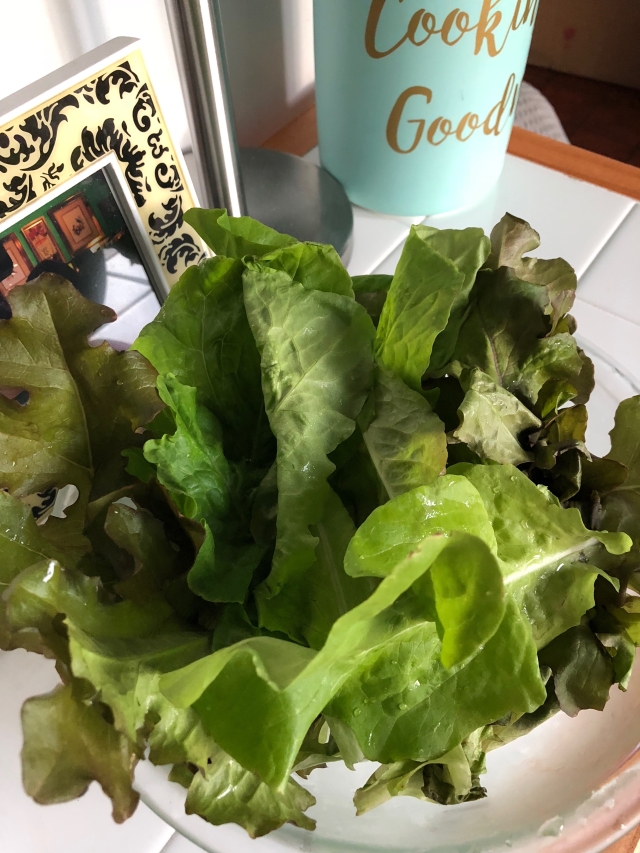
Lettuce
Bowl
Veggie Cleaner
Paper Towels
Water
What To Do:
- Rinse your lettuce according to your veggie cleaner or if you don’t have one, just rinse your lettuce to get rid of excess dirt.
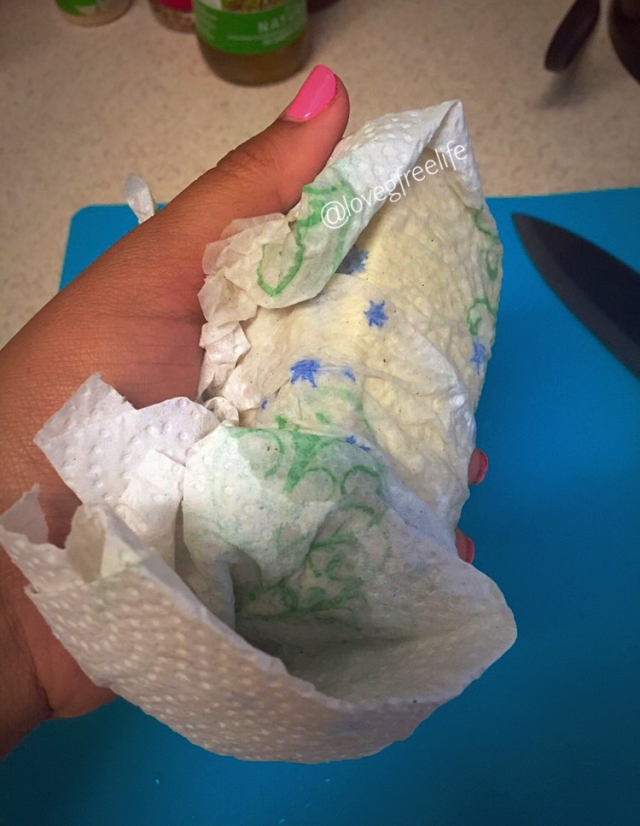
- In the bowl, put a folded piece of paper towel covered in water (the paper towel, not the bowl) on the bottom.
- Add the lettuce in the bowl, pile them so they have some room to breathe.
- Put a damp piece of paper towel to cover the lettuce. Make sure you rewet this paper towel once it gets dry.
- When you’re ready to eat it, it will be waiting! Just don’t go too many days otherwise your lettuce will not be that great. I did this overnight and only had to rewet my paper towel once. The lettuce was still crunchy and fresh tasting.
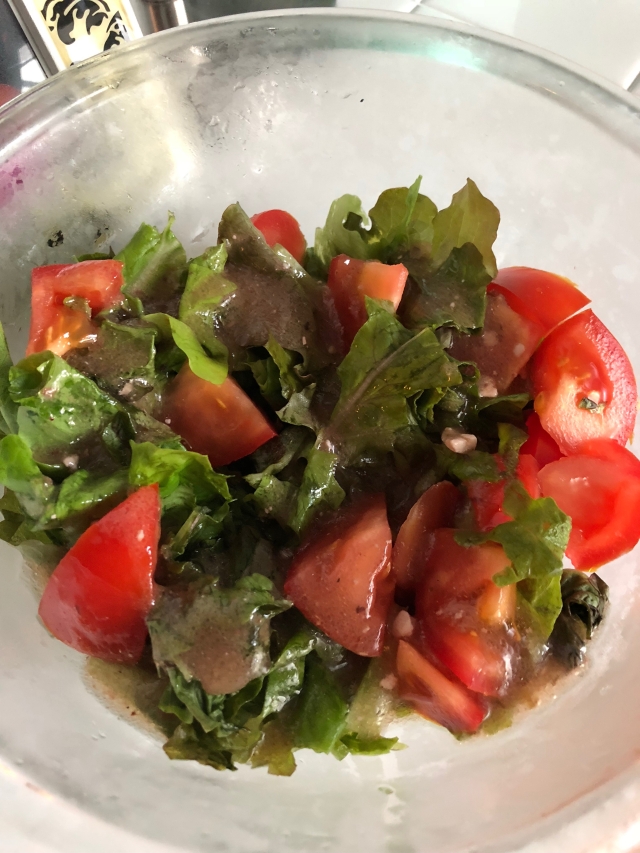
It was so nice to have lettuce that I grew. I know where my food is coming from (my mini garden haha) and I control what I feed my plants. #nogmo #nopesticide Bam! I feel like a real adult!